Onboarding Instructions
Basic onboarding instructions for the first set of researchers.
Please note that the onboarding procedure is evolving and the snapshots below may differ from what you see. Please reach out if you run into any issues.
Step 1: Accept VISION Invitation
You will receive an invitation email to set up your account on VISION:
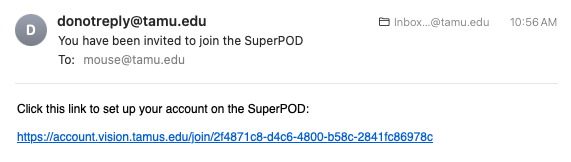
Click the link which will open a browser window, then click Log in With SSO:
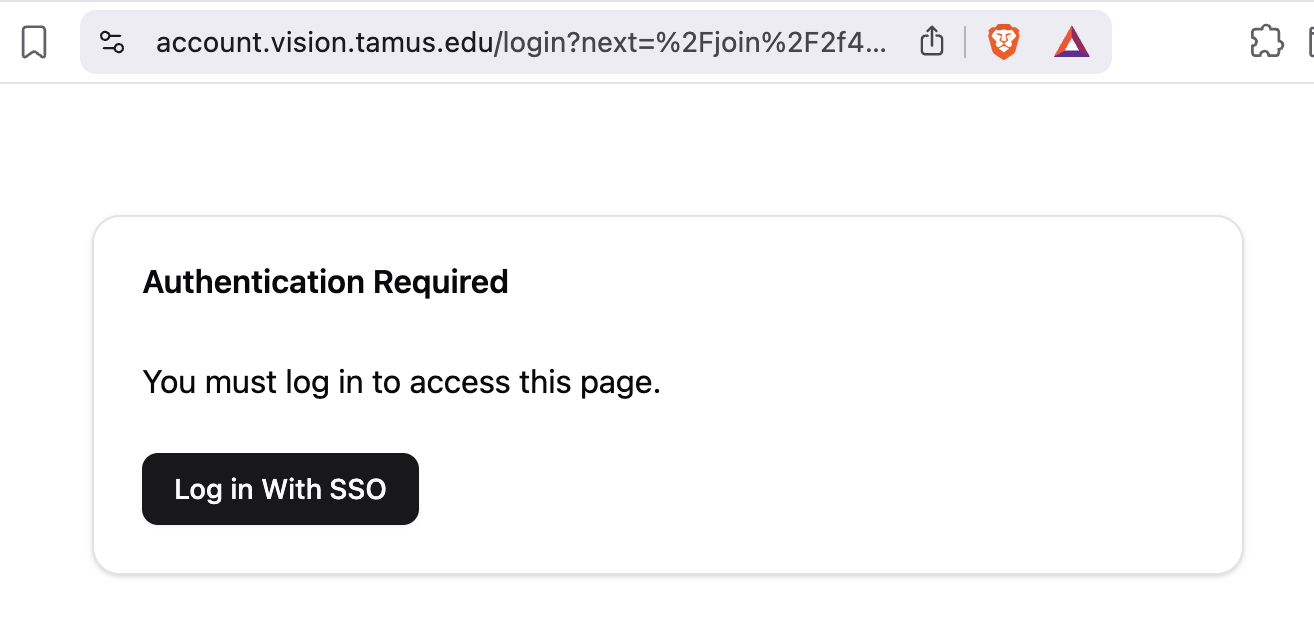
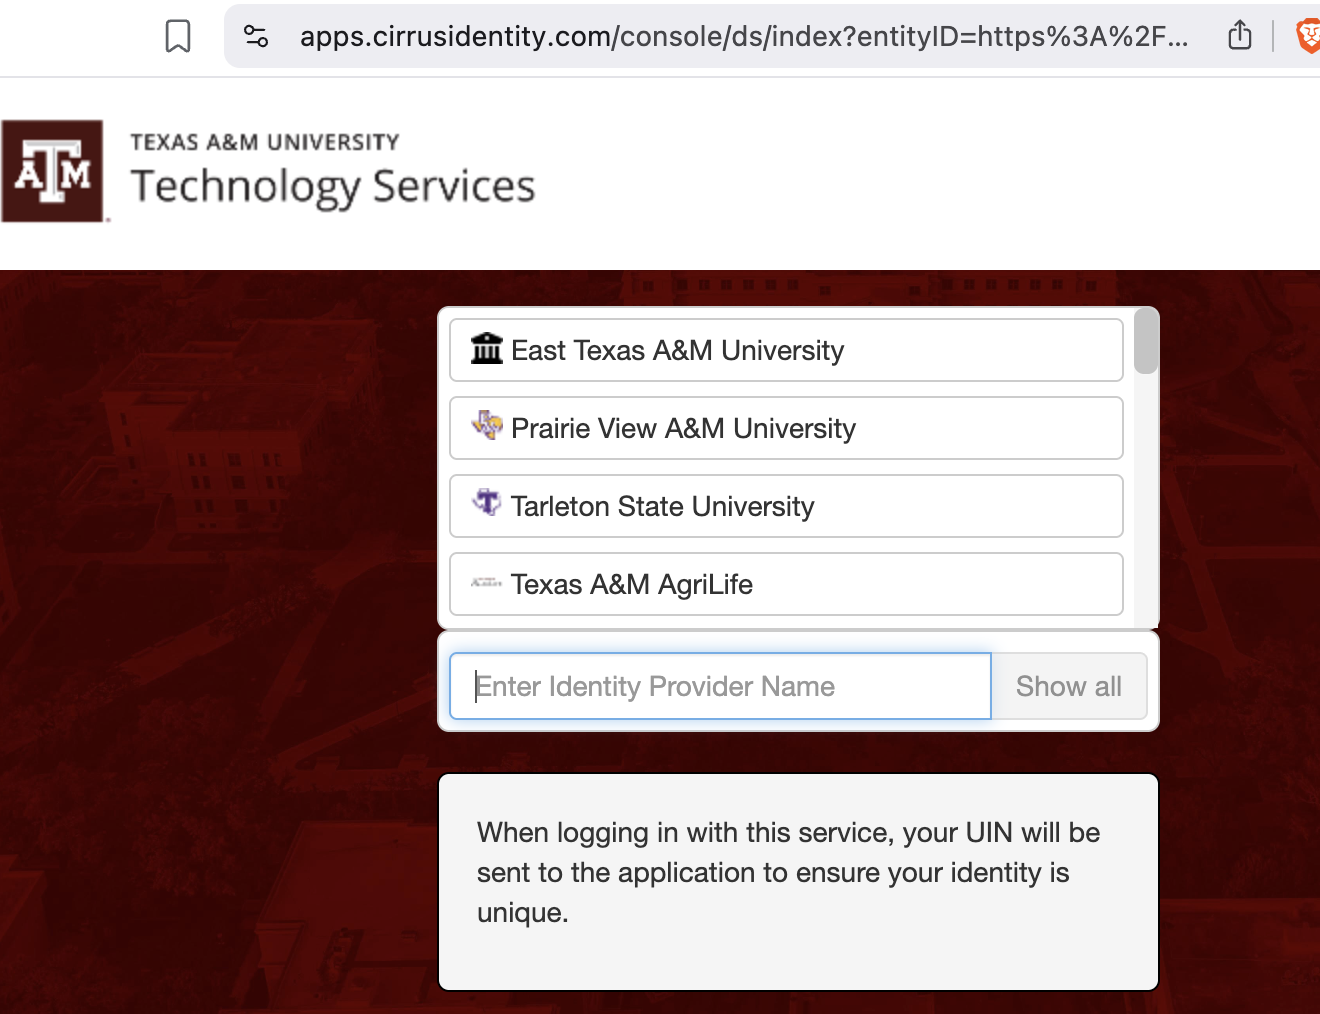
Select the correct Identity provider and login:
Step 2: Email Verification
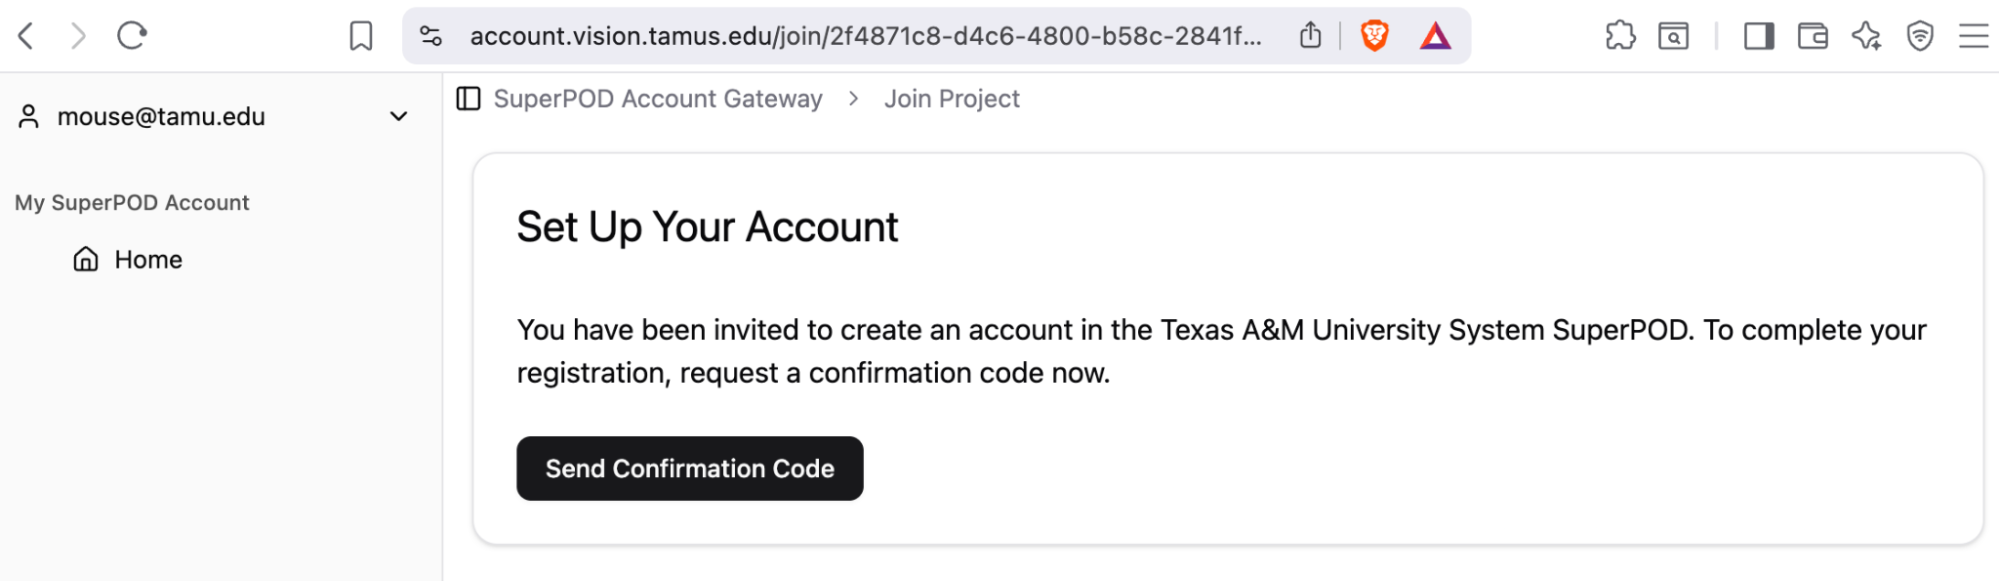
You will be redirected back to the VISION account setup page. Click Send Confirmation Code:
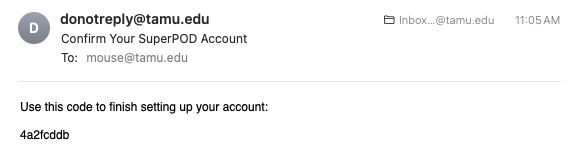
Check your email to get the confirmation code:
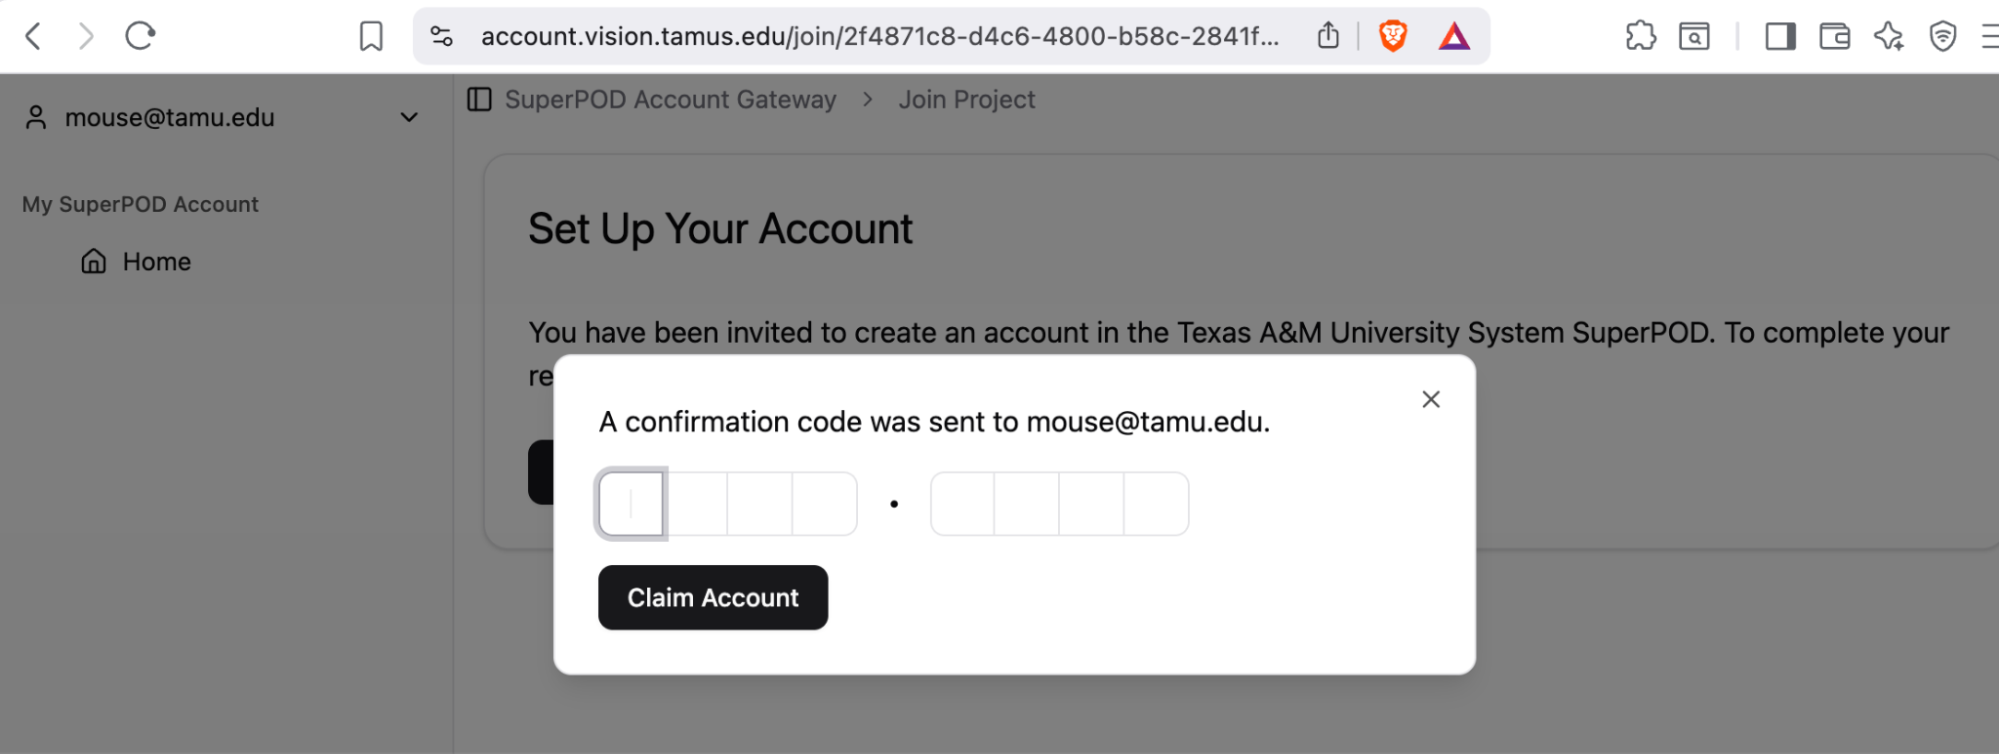
Navigate back to the VISION account setup page and fill in the confirmation code:
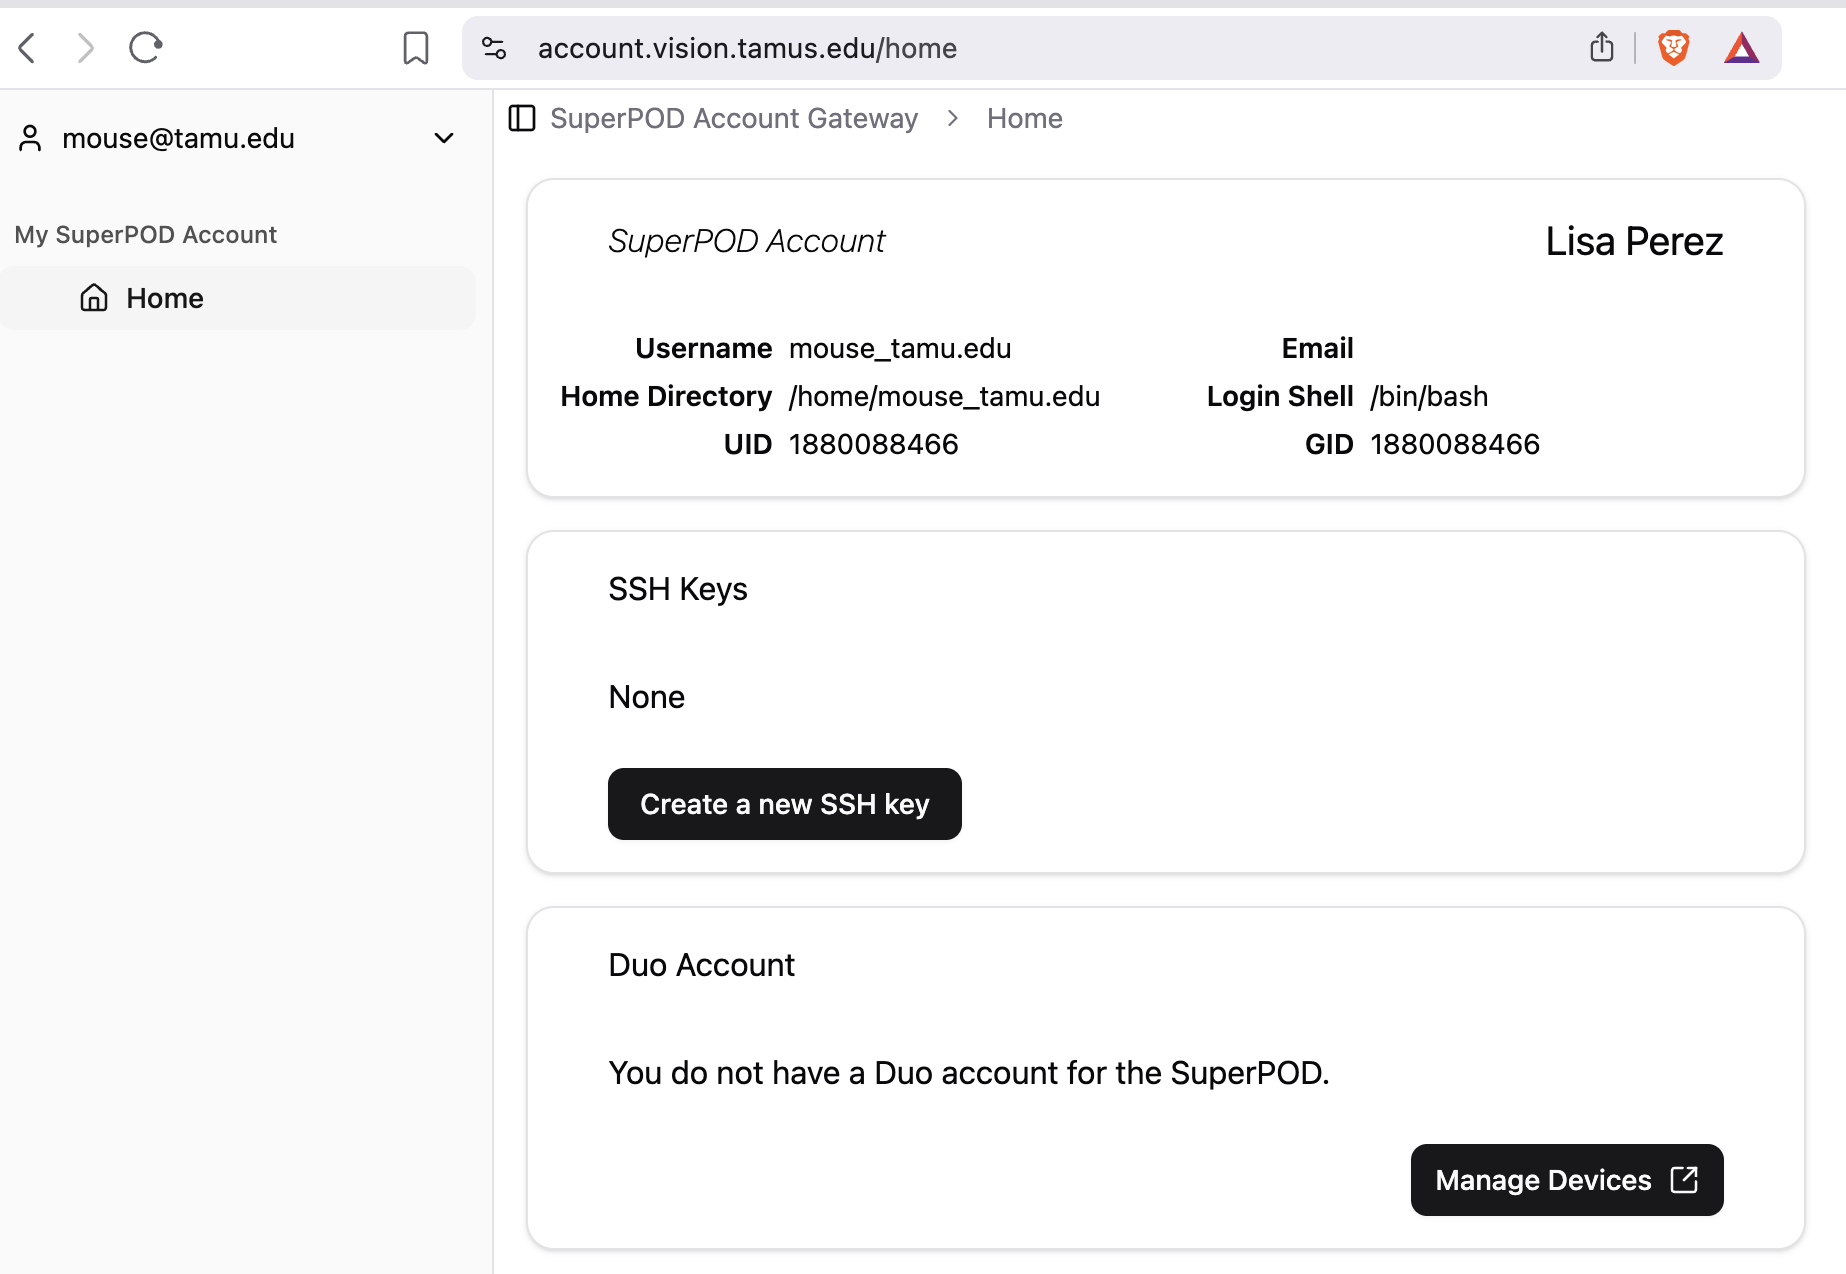
Step 3: Create SSH Key
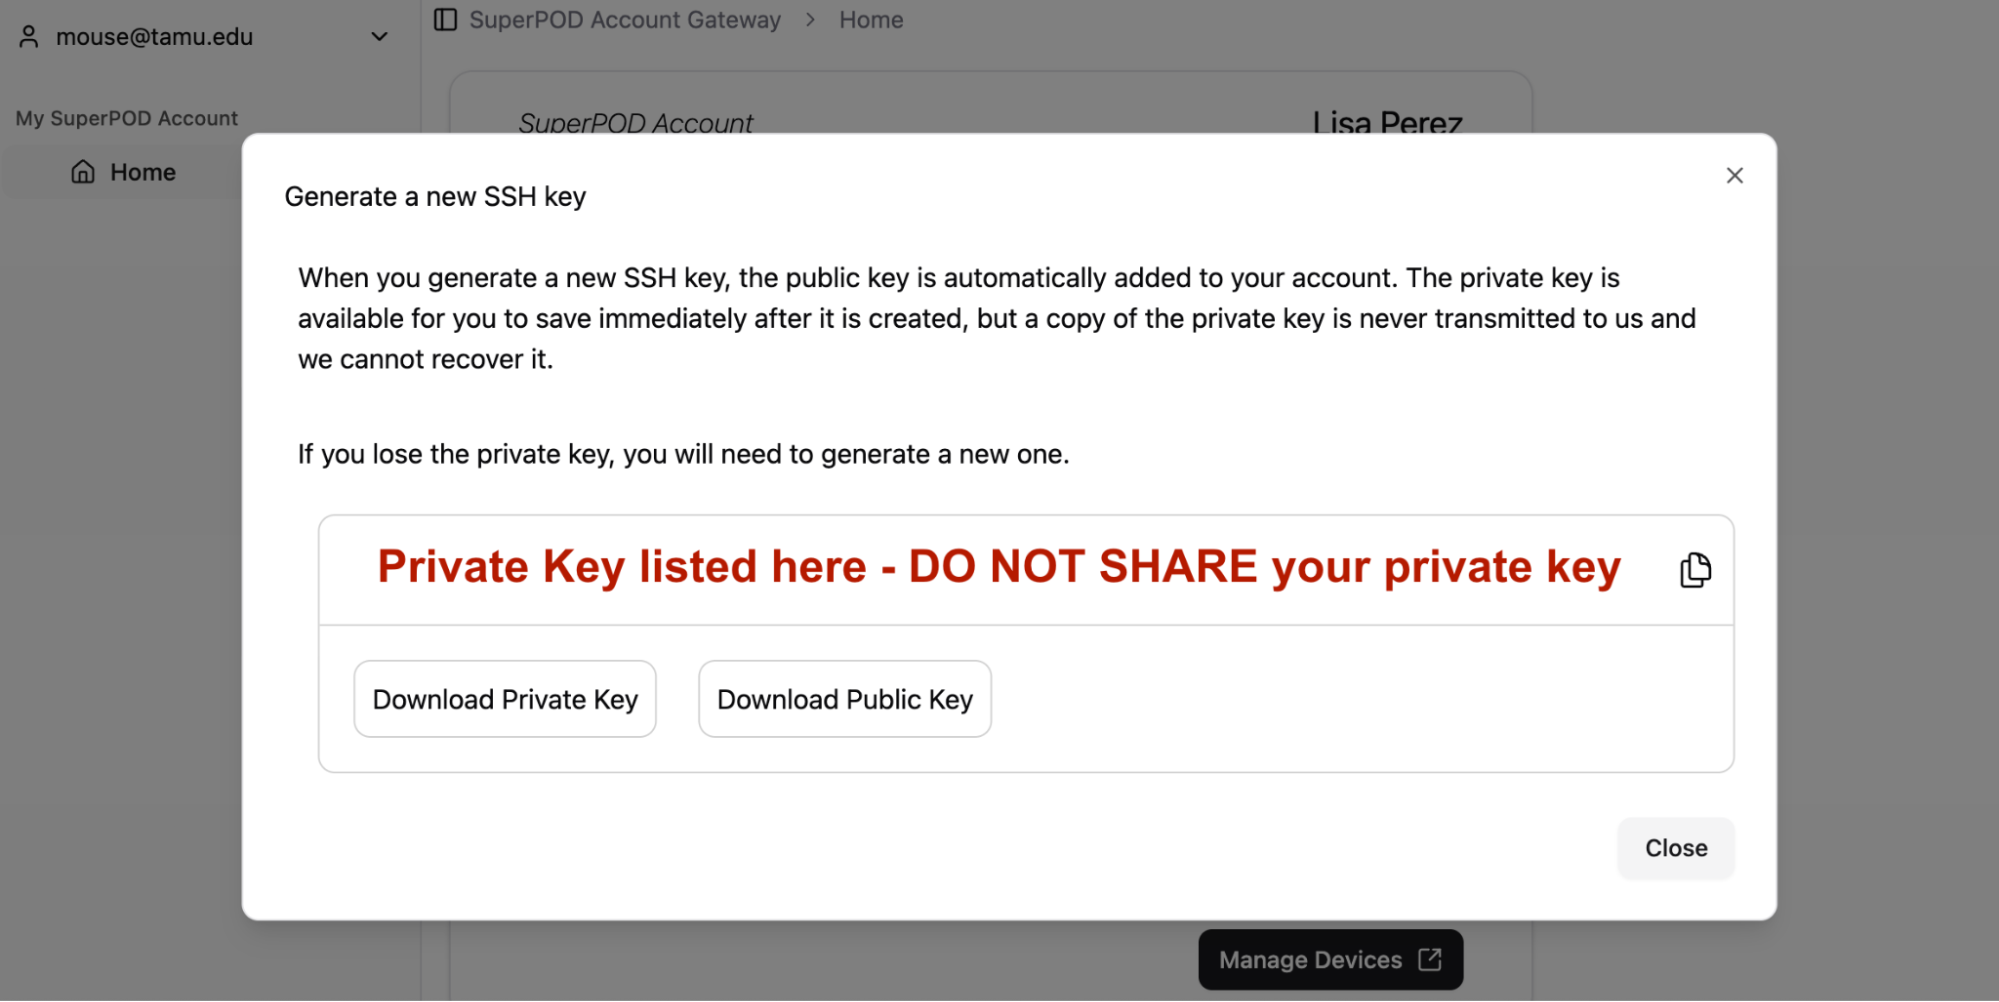
Click on Create a new SSH key:
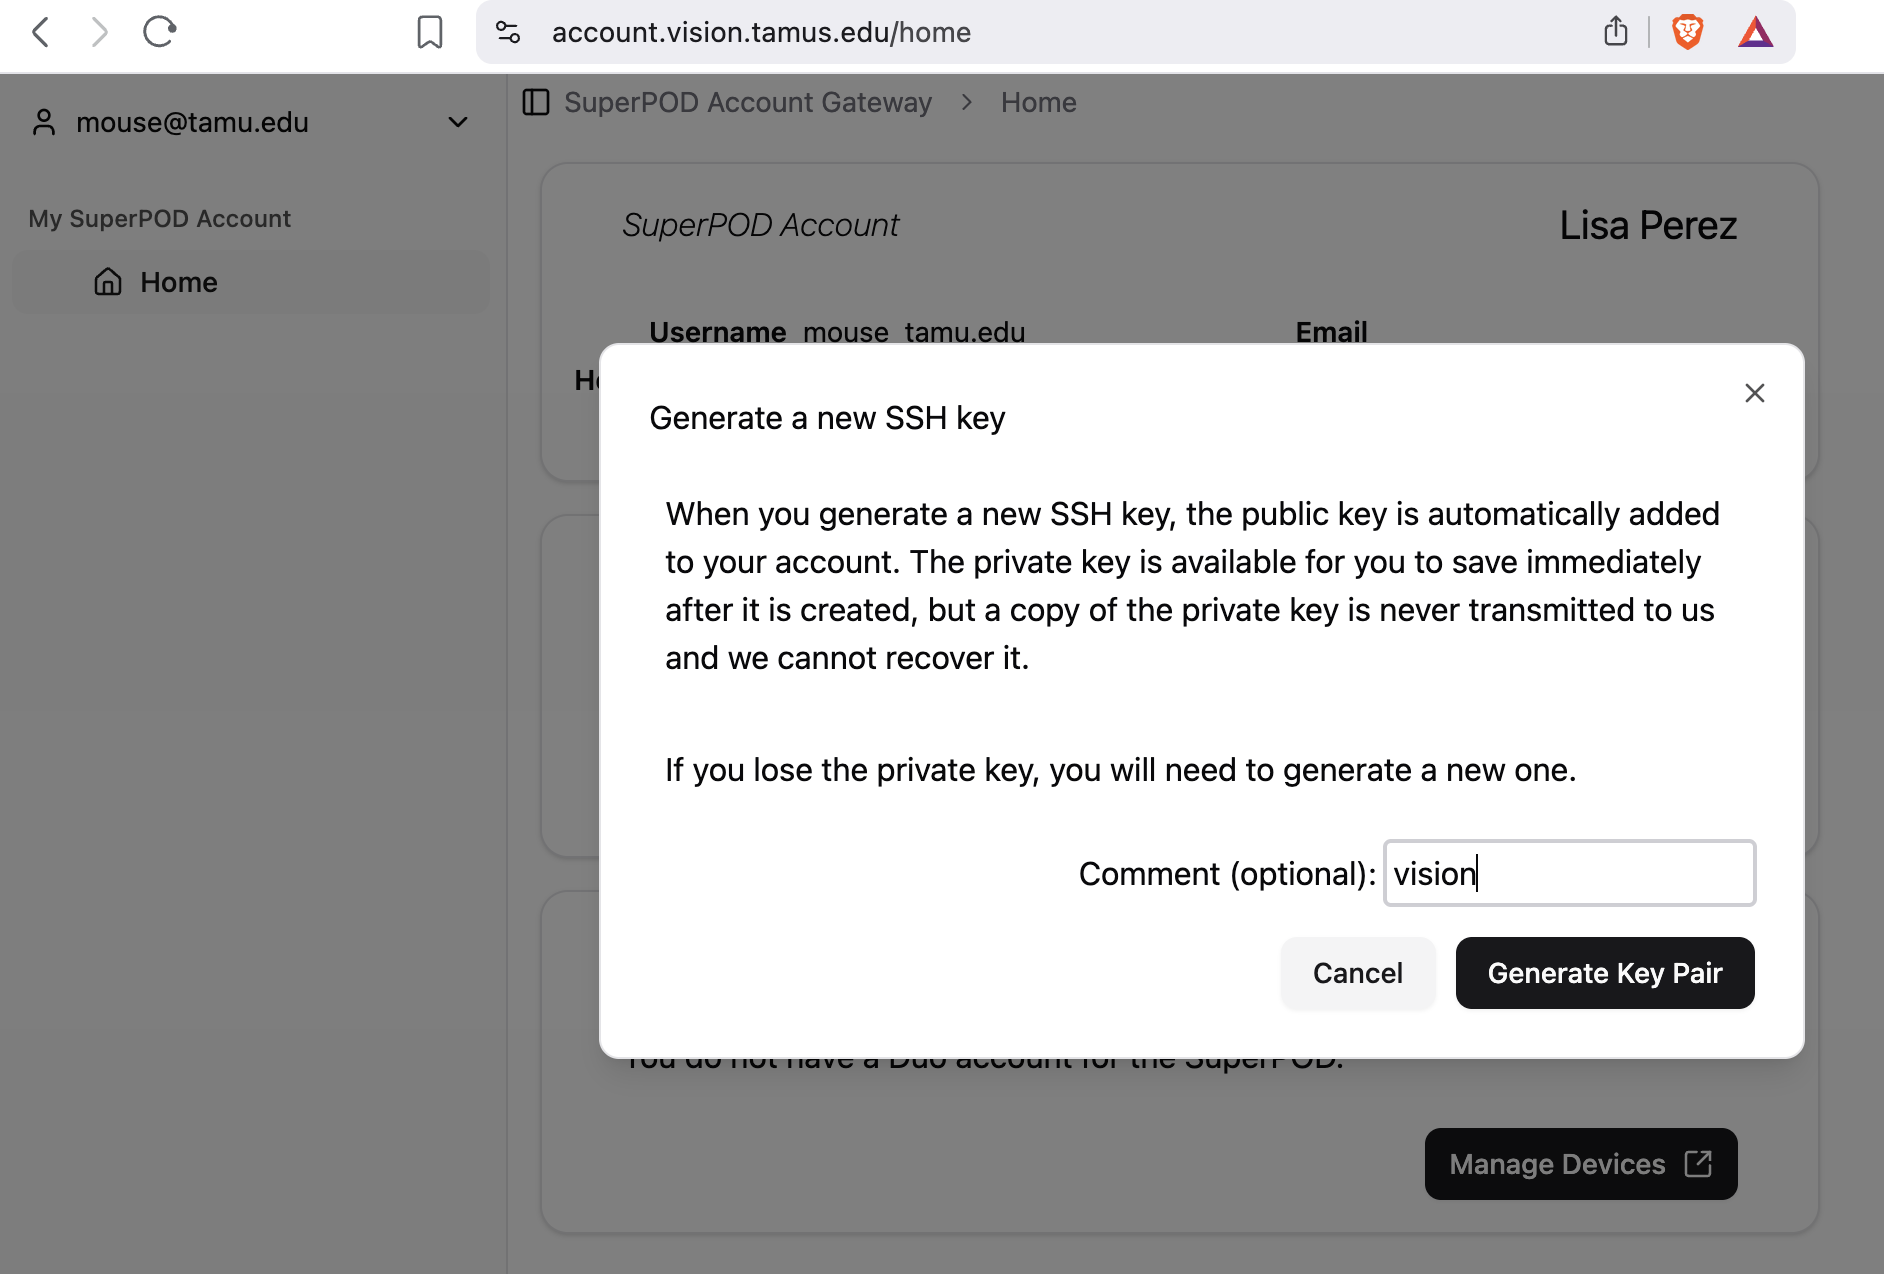
The comment is optional but I would suggest adding "vision". Click Generate Key Pair:
Download the Private Key by clicking on the Download Private Key button. If your browser gives you the option while downloading, save the private key to $HOME/.ssh/ directory. Otherwise, move the file to $HOME/.ssh/ after downloading.
You will need to confirm that your private key has 600 permissions:
ls -l $HOME/.ssh/id_ed25519_vision
Change the permissions if needed:
chmod 600 $HOME/.ssh/id_ed25519_vision
Step 4: Setup Duo Account
Click on Manage Devices:
Click on Get started:
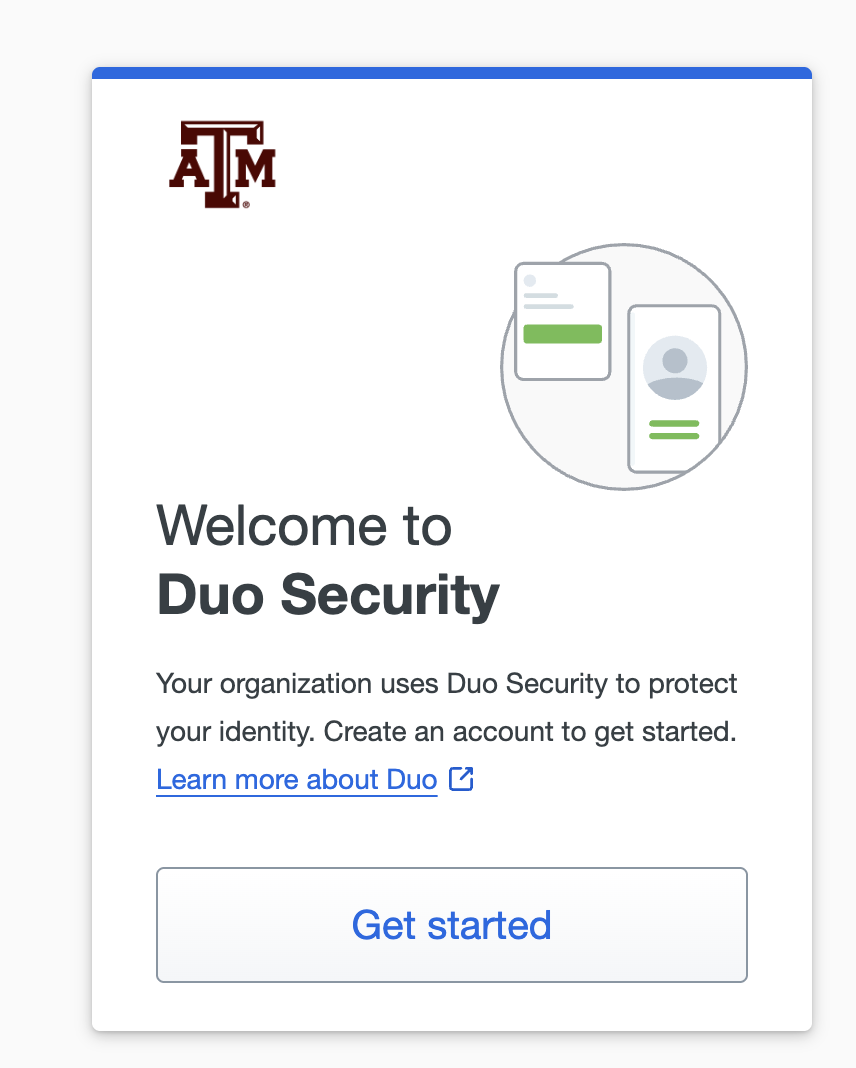
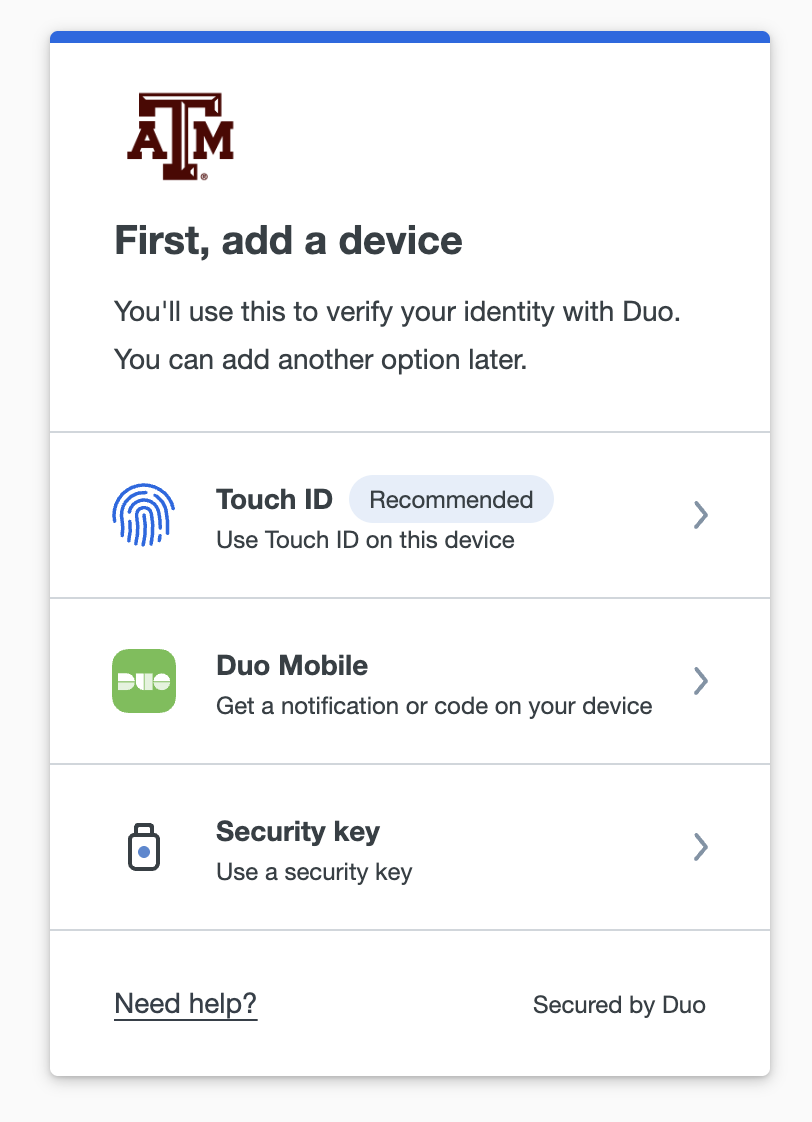
Your options will differ depending on your current setup in DUO. Click Duo Mobile:
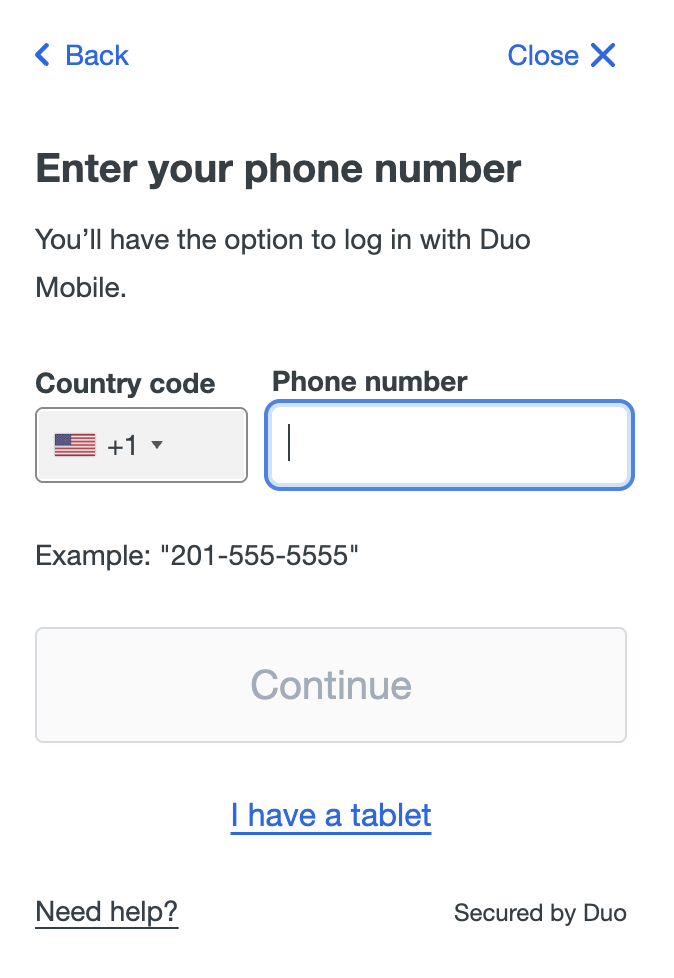
Add your phone number:
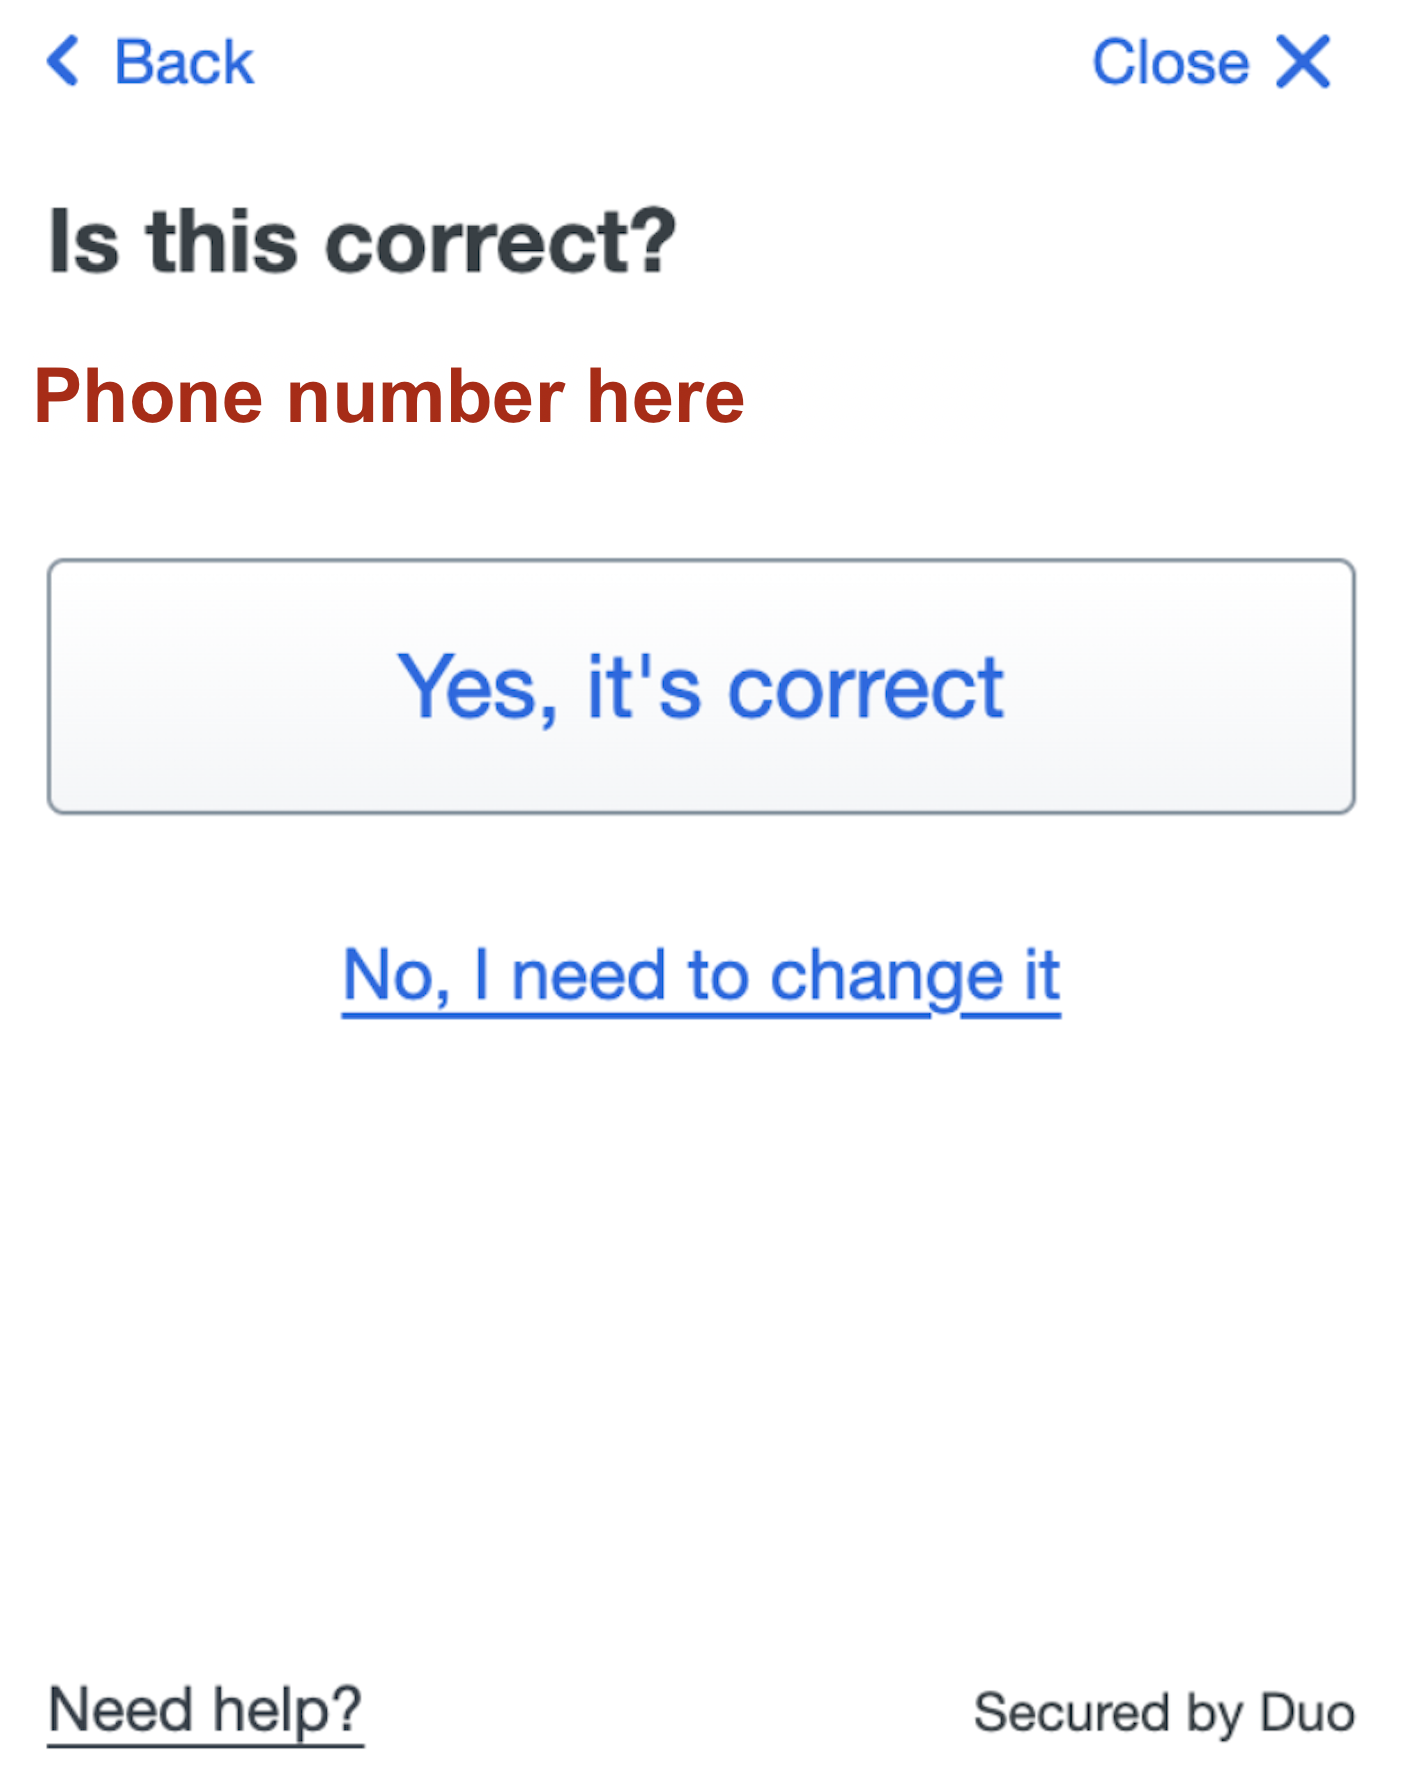
Confirm your number:
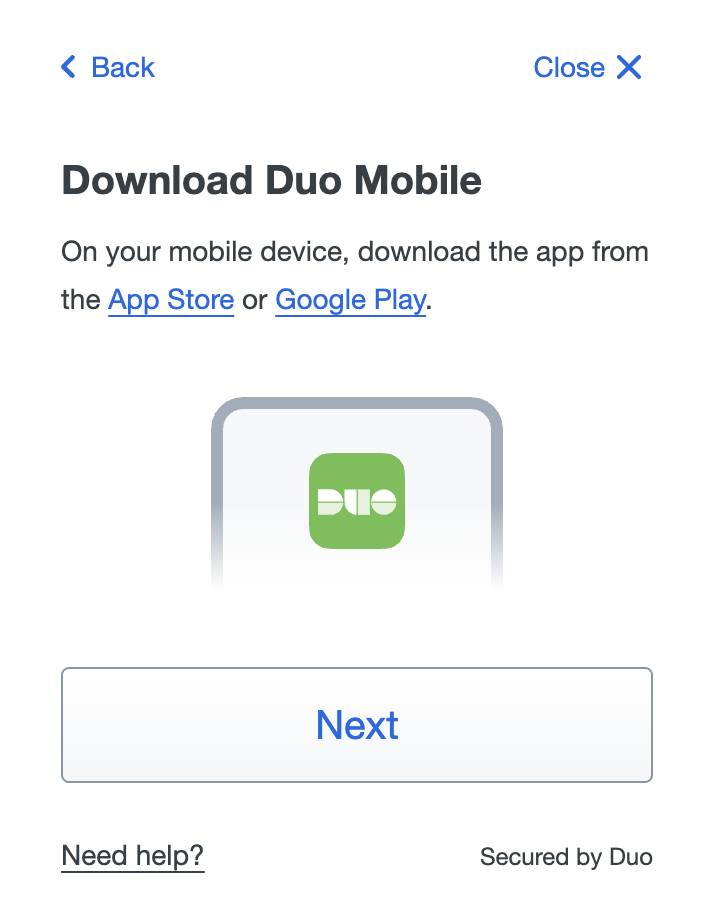
Download the Duo Mobile app if you do not already have it. Click Next:
There will be a QR Code to finish the setup with your DUO app. Scan the QR code with the DUO app.
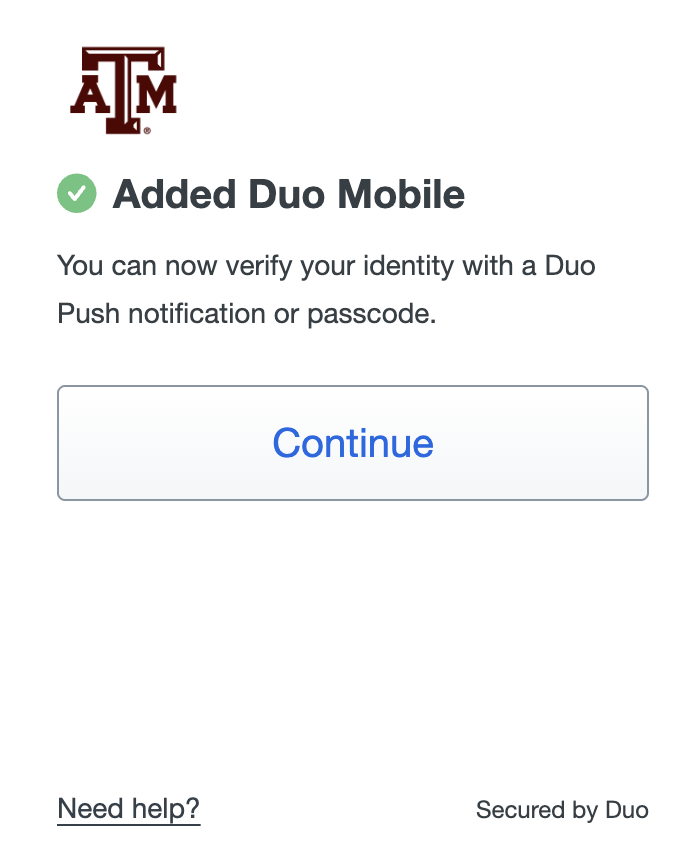
After scanning, you will get an Added Duo Mobile confirmation screen. Click Continue:
Step 5: Setup Cloudflare One
You will need to set up Cloudflare One on your device before you can login to VISION. Visit the link below and select the installer appropriate for your computer:
After installing Cloudflare One, you should see an icon available for a running service. The location will vary by operating system. The image below is from a Mac.
Click Continue under Cloudflare One Client:
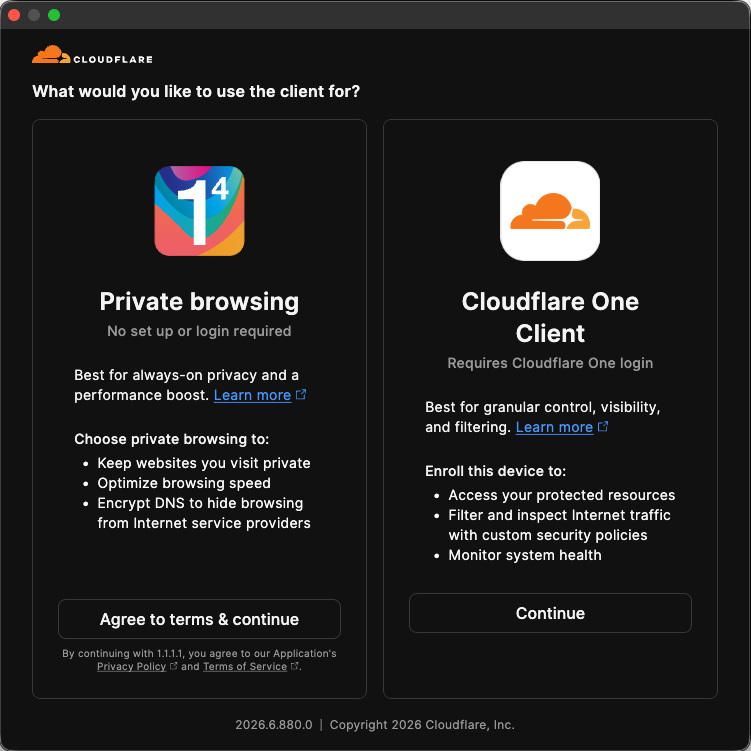
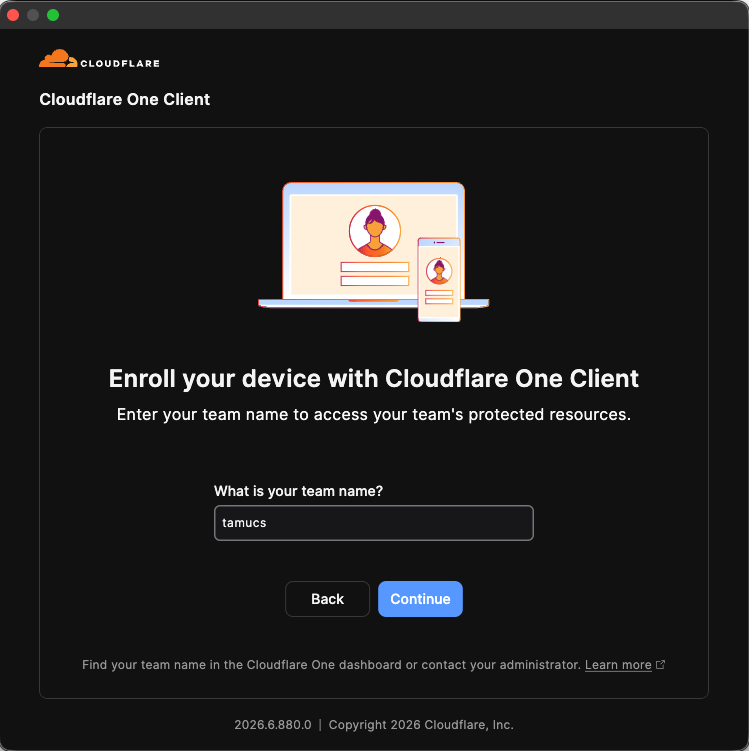
Type tamucs in the What is your team name? field and click Continue:
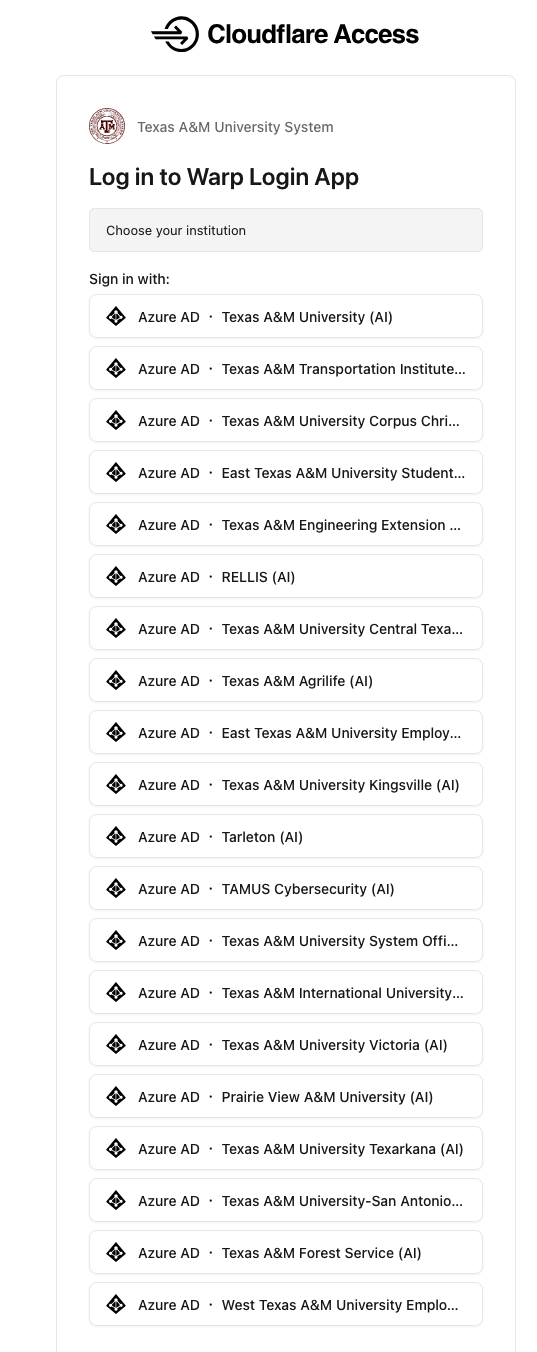
You will be directed to the Cloudflare One Login App in your default browser. Select the appropriate Institution. Your page may differ in options than the snapshot below:
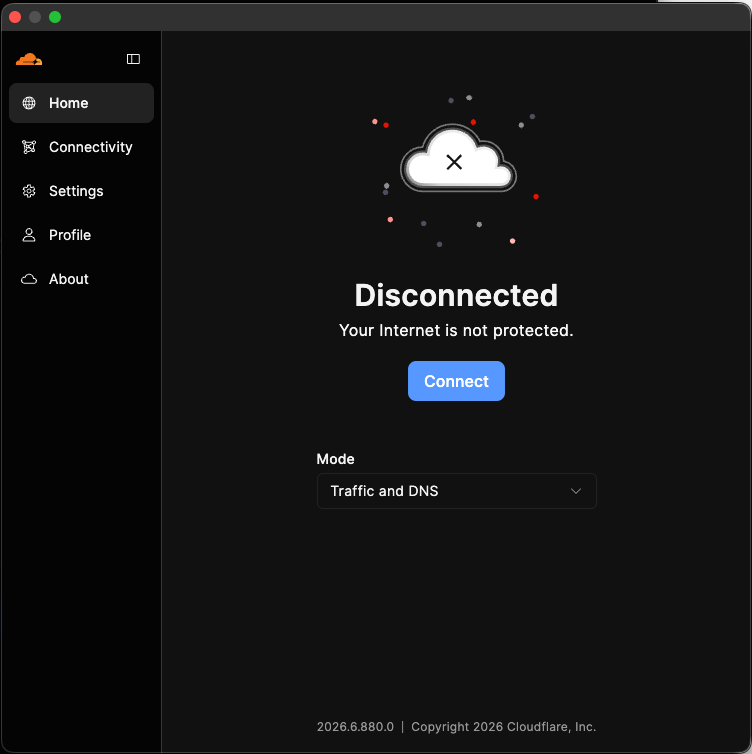
After logging in, you should see a Success! page. If you do not see the Zero Trust window, click the Cloudflare One in your menu bar. Click the Connect button to establish your connection:
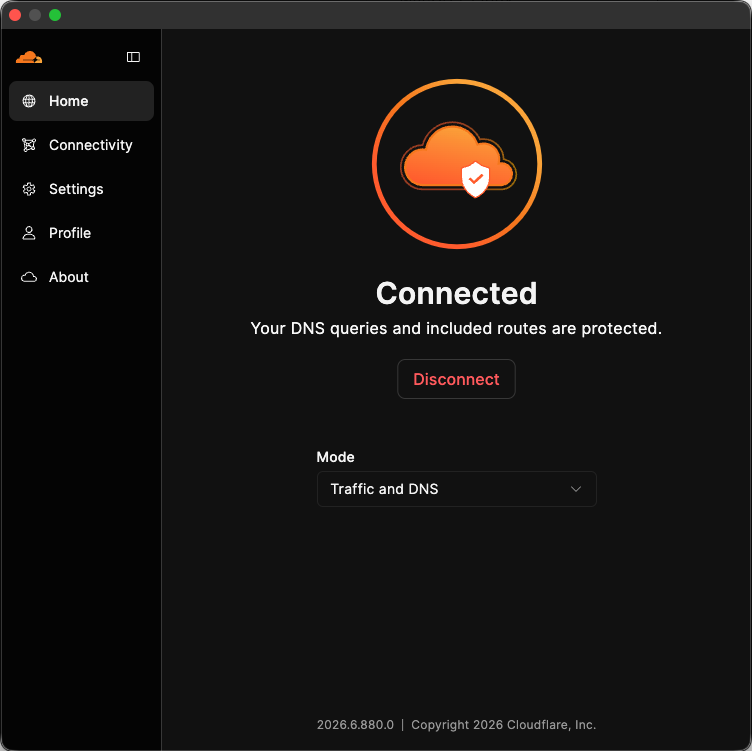
You should now see Connected in the Cloudflare One client window:
Step 6: Configure SSH
Setup the config file to ssh to VISION. Personalized instructions are available by clicking View Instructions on the account.vision.tamus.edu(opens in new window) page:
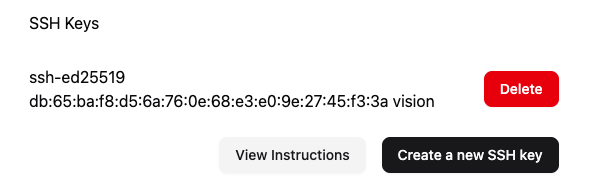
The primary address for connecting to a VISION login node is login.vision.tamus.edu. Using this will connect you to one of two login nodes. If, for some reason, you need to connect to a specific login node, those addresses are slogin-01.login.vision.tamus.edu and slogin-02.login.vision.tamus.edu.
If it doesn't already exist, create a text file named config in $HOME/.ssh/config with the following content. You will need to replace id_institution with your username as shown on the VISION account activation page:
Host vision
    Hostname  login.vision.tamus.edu
    User  id_institution
    IdentityFile  ~/.ssh/id_ed25519_vision
    Port  22
Step 7: Connect to VISION
You should now be able to ssh to VISION using:
ssh vision